Part 2 – A Beginner’s Struggle with “Quilt as Desired”

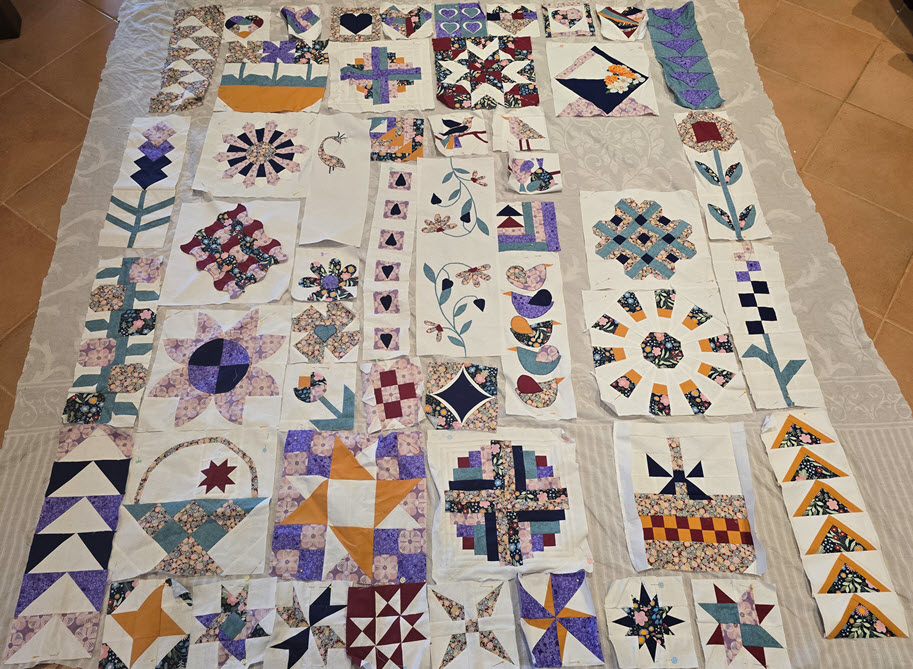
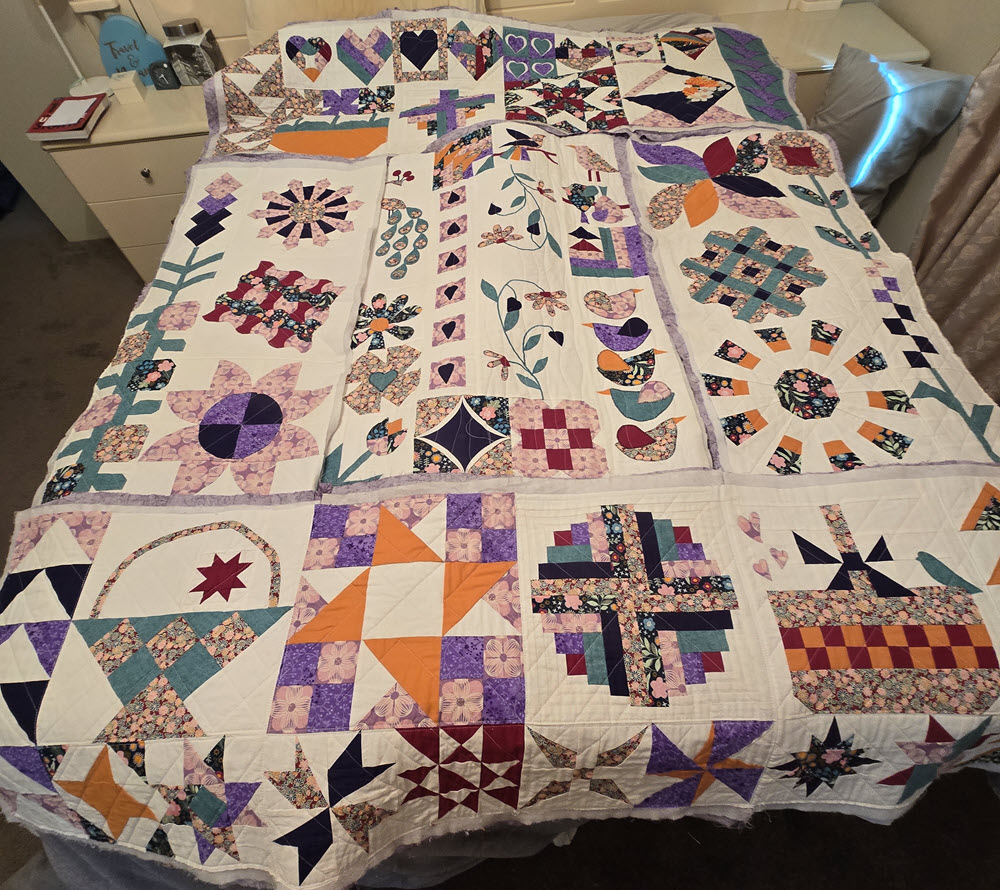
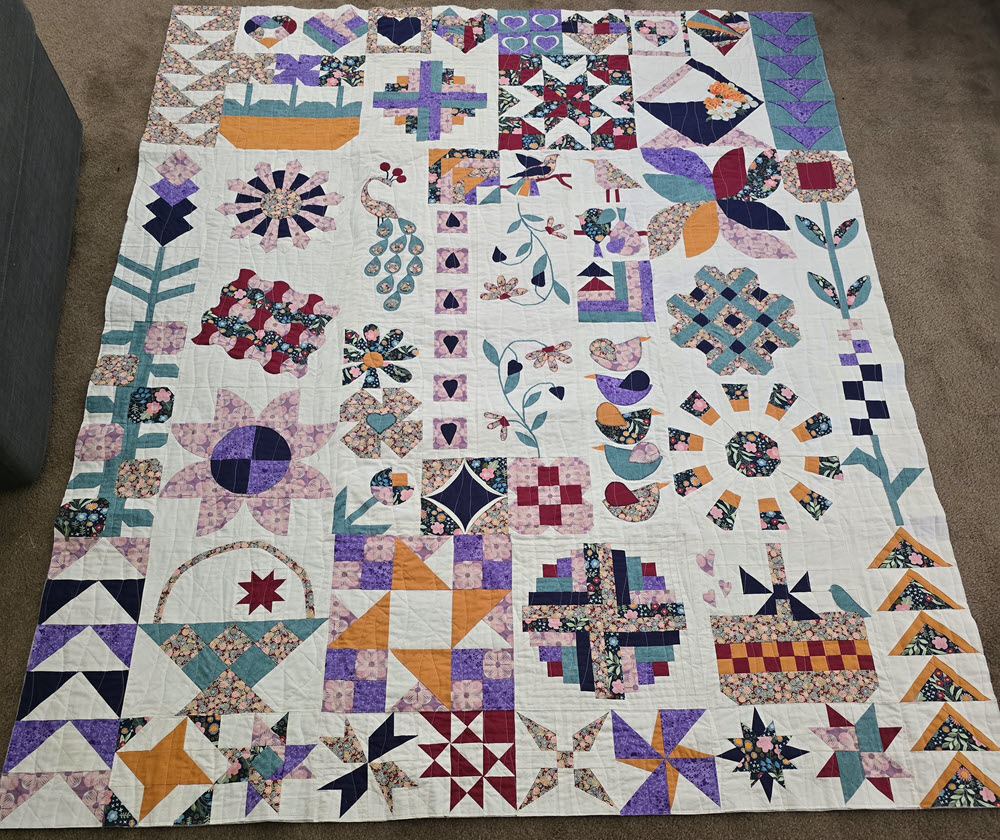
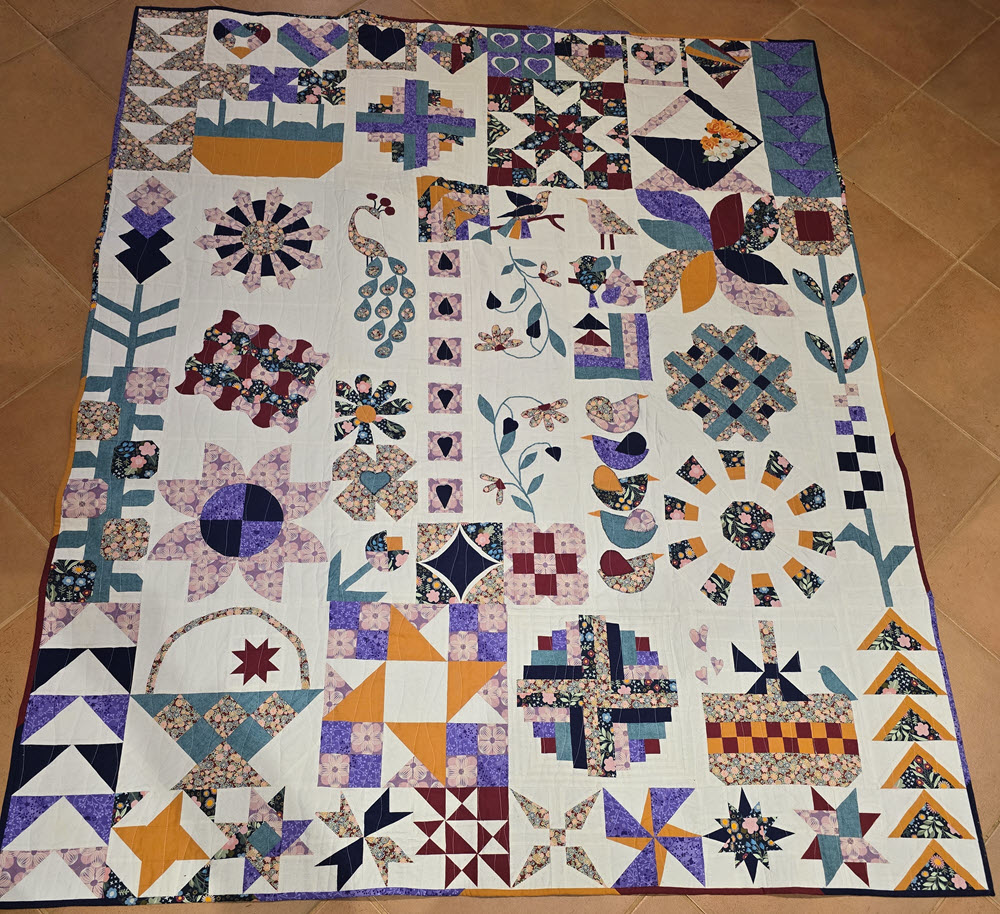
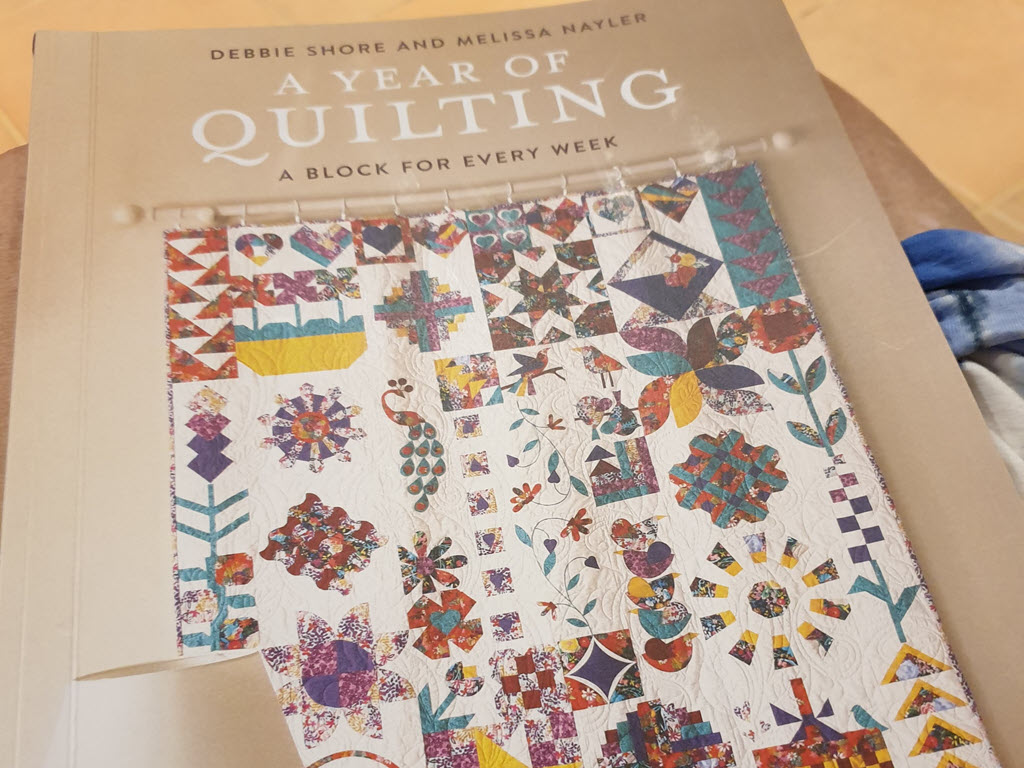
Completing all 52 quilt blocks from A Year of Quilting by Debbie Shore and Melissa Naylor felt like a huge achievement. Each block represented a new skill, a small win, and occasionally a quiet mutter of “why did I think this was a good idea?” But once the quilt top was finally finished and pressed, I quickly realised that making the blocks was only part of the journey.
The next challenge was quilting the quilt top itself. Unlike the cover image in the book, which shows the quilt as a wall hanging, my intention was to use this quilt on a bed.
This post documents my experience of that stage — the confusion, the frustration, the steep learning curve, and the small moments of progress — while also serving as a record of what I’ve learned, so I can refer back to it when I need a reminder of how or why I did something. If you’re a beginner staring at a finished quilt top and wondering what on earth “quilt as desired” actually means, you’re not alone.
This post focuses on the quilted quilt top I made while working through A Year of Quilting by Debbie Shore and Melissa Naylor. To follow the earlier part of my journey — learning to piece the blocks — see my previous post: Learning to Quilt: A Year of Quilting in Progress – Part 1: Learning to Piece Quilt Blocks.
When the Instructions Run Out
One thing I’ve discovered in my quilting journey is that most quilting books and magazines do a great job explaining how to piece the quilt top — and then, once the top is complete, the clear instructions largely disappear. You are often met with just three deceptively simple words:
“Quilt as desired.”
The beautifully quilted quilt tops shown in books and magazines — often quilted on a longarm machine — are certainly inspiring, but they aren’t necessarily helpful for a beginner working on a domestic sewing machine.
“Quilt as desired” is meant to give creative freedom, but for a beginner like me, it mostly leads to confusion. At this point in my quilting journey, I don’t yet know what I like or what “looks good” on a quilt top. Instead, I find myself wrestling with questions like:
- Should each block be quilted individually, or should I use an all-over design that flows across the entire quilt top?
- Should I try walking foot quilting, free-motion quilting, or pay a longarm quilter to do it for me?
- How difficult will it be, as a beginner, to quilt a 72 x 60-inch quilt on my domestic sewing machine? Or would it be more manageable to break the quilt top into sections and use a quilt-as-you-go method?
- How dense should the quilting be before it feels “finished” and not too stiff?
- What colour thread will look best — should it blend in, stand out, or sit somewhere in between?
- And perhaps the most unsettling question of all: will I ruin all that work if I quilt it “wrongly”?
These are questions that books and videos can’t necessarily answer, because the answers come from experience. The most important thing for me to remember is that this quilt is not meant to be perfect — it is part of my learning journey.
Building Quilting Skills from Scratch
I decided early on that I wanted to quilt this quilt myself on my domestic sewing machine rather than pay a longarm quilter. I wanted to experience the entire process from start to finish, even if that meant a steeper learning curve.
My starting point was to learn about both walking foot quilting and free-motion quilting so I could decide which approach might suit me best, which would then help me decide on the quilting design. This was where the “had I but known” moment came into play.
Once I started actively looking for advice on learning how to quilt, a consistent message appeared: for beginners, the best projects to learn on are usually baby quilts, lap quilts, or small items such as tablecloths or table runners. These smaller projects are far easier to manage on a domestic sewing machine and allow you to focus on learning the skills and building confidence without feeling overwhelmed.
By contrast, my finished quilt top — at 72 × 60 inches — was not exactly a gentle introduction to quilting on a domestic machine.
Learning the Skills: Books and Resources That Helped
Once I accepted that I needed to start by learning walking foot and free-motion quilting, the next step was finding resources that could actually teach me how to do it.
The following are resources I’ve found helpful:
Walking Foot Quilting Resources
Jaquie Gering’s work is the key resource I used to learn walking foot quilting.
Jacquie Gering is widely recognised for making walking foot quilting accessible to beginners. Her two books, WALK: Master Machine Quilting with your Walking Foot and Walk 2.0:More Machine Quilting with Your Walking Foot, combined with her Craftsy’s classes Creative Quilting with your walking foot and Next Steps with your walking foot classes, were an essential part of my learning,
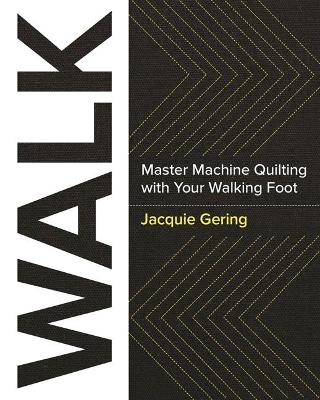
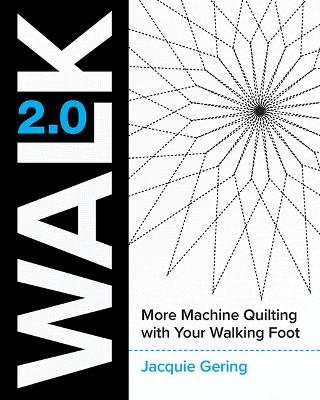
WALK: Master Machine Quilting with your Walking Foot guided me step by step from the basics to advanced and creative uses of the walking foot. Walk 2.0: More Machine Quilting with Your Walking Foot builds on these techniques and includes a detailed section on “How to quilt it” and “quilt as desired”, offering practical advice, planning tips, and extensive examples, along with a gallery for inspiration. Working through her online Craftsy classes helped reinforce the lessons and gave me the confidence to try these techniques.
Free-Motion Quilting Resources
I’ve found Leah Day and Angela Walters’ work to be great resources for learning free-motion quilting. Both have played a significant role in making free-motion quilting accessible to beginners using domestic sewing machines.
Leah Day focuses on breaking complex designs down into simple shapes and repeatable motions, helping beginners understand that free-motion quilting is a skill that can be learned through practice rather than artistic talent.
Angela Walters, by contrast, has a strong focus on design and texture. She encourages quilters to experiment, mix motifs, and think about quilting as a way to enhance a quilt rather than simply finish it.
Below are links to some of their free-motion playlists on YouTube:
I’ve also built up a small collection of free-motion quilting books over time — borrowed from libraries or found in charity shops — which have been useful reference resources.
My current book list includes:
- Angela Walter – Free-Motion Meandering – A Beginner’s Guide to Machine Quilting
- Wendy Sheppard – Stitching Pathways
- Catherine Redford – Modern Machine Quilting (here is a link to the second edition of this book).
Each of these books approaches free-motion quilting from a slightly different angle and, as a result, offers different tips and insights.
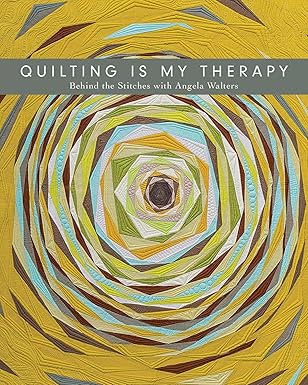
While it isn’t a book on learning free-motion quilting techniques, I enjoyed reading Quilting is My Therapy – Behind the Stitches with Angela Walters. This book is a personal and enjoyable read about Angela Walters’ journey into quilting. I found it inspiring to read about her experiences, challenges, and growth as a quilter, and it offered a reminder that every quilting journey is different and evolves over time.
Fast and Easy Quilting Designs
Karen Brown has a helpful 10 Fast and Easy Quilting designs, which is helpful for quickly finishing off quilts.
Practice, Practice, Practice
Most agree that the only real way to improve at machine quilting is through practice. Books and videos can explain techniques and offer guidance, but confidence and skill come from spending time at the machine, making stitches, and learning from what works — and what doesn’t.
The most common suggestion is to practice using small sample quilt sandwiches. I use 12 x 18 inch quilt sandwiches for my practice and make them by following the spray basting instructions in Quilt Sandwich tutorial – how to make a quilt sanwich. I don’t bother pin basting after spray basting.
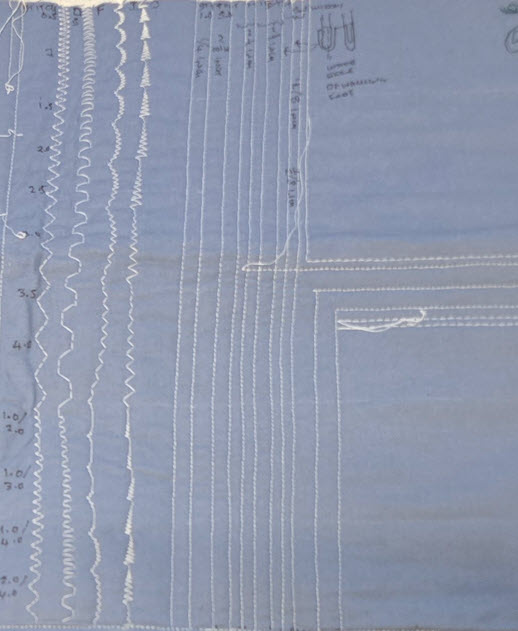
Walking foot practice
Below are photos of some of my initial practice learning to use the walking foot on the Janome 419s I had borrowed from my niece. I ended up buying a Janome Skyline S7 after accidentally snapping the presser foot lifter on the Janome 419s. My Skyline S7 includes an acufeed foot, extension table and a range of other features, which make it better suited for quilting.

Free-motion Practice
I haven’t invested as much time learning free-motion quilting because I decided early on that I would use a walking foot for my large quilting project, as I had already identified that free-motion quilting has a steeper learning curve because:
- You are responsible for both stitch length and movement.
- Coordinating hand speed with machine speed takes time to develop.
- Muscle memory needs to be built through regular practice.
- Early stitches can feel messy or inconsistent, which can be discouraging.
- Many recommend drawing the designs first on paper, a whiteboard, or printed practice sheets to help connect hand movement with stitching.
- It involves more practice to learn.
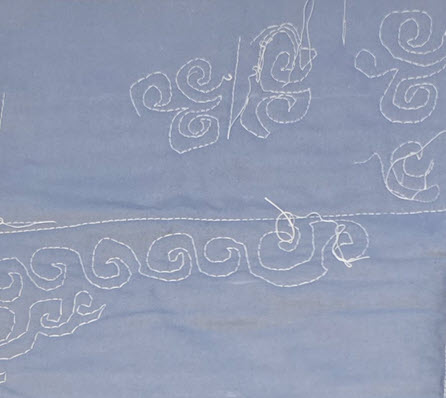
My initial attempts at free-motion quilting on the Janome 419s highlight my challenge learning it compared to walking foot quilting.
Part of my challenge with free-motion quilting is that I don’t particularly enjoy practising in isolation. I’m far more motivated when I’m sewing something that will be used, rather than working on small practice quilt sandwiches that is disconnected from a finished project.
I also have poor fine motor skills, to the point where I can even struggle to read my own handwriting at times. This makes the coordination required for free-motion quilting more difficult and means progress is slower and more frustrating.
However, I did revisit free-motion quilting after reading Modern Machine Quilting by Catherine Redford. Her book includes small, usable projects that make practising free-motion quilting feel purposeful rather than abstract. The clear instructions and detailed examples helped me identify more enjoyable ways to learn free-motion quilting — without relying on sample quilt sandwiches.
Below are pages 110 and 111 from Modern Machine Quilting by Catherine Redford, which show examples of making simple placements to practice different types of free-motion quilting.
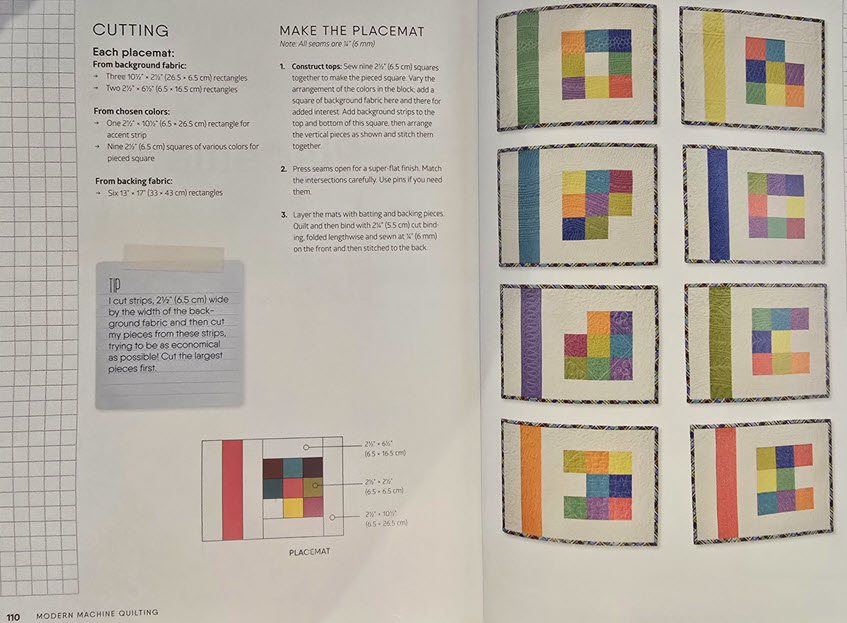
Below is my attempt at free-motion quilting Christmas placemats using my Skyline S7. I found free-motion quilting considerably easier on the Skyline S7, which made the process feel more manageable. However, I also learned an important lesson about fabric choice. The solid fabrics used in Catherine Redford’s examples are far better suited to free-motion quilting than the printed fabric I chose. On my placemats, much of the quilting was visually lost in the busy print, making the stitching far less noticeable than I had expected. This was ultimately why I never completed the placemats.
Even so, the experience was encouraging — it showed me that I could learn free-motion quilting if I chose to focus on it.
Breaking the Quilt into Manageable Sections
I reached a point where I realised that practising only takes me so far. Sample pieces are useful for learning individual skills, but they don’t prepare me for the reality of quilting a large quilt top. To really understand how a quilt behaves under the machine, I needed to dive in and quilt an actual project.
At the same time, I needed to listen to the advice of experienced quilters, who often recommend starting with smaller projects, such as a baby or lap quilt (around 40 × 40 inches), as these are much easier to manage on a domestic sewing machine.
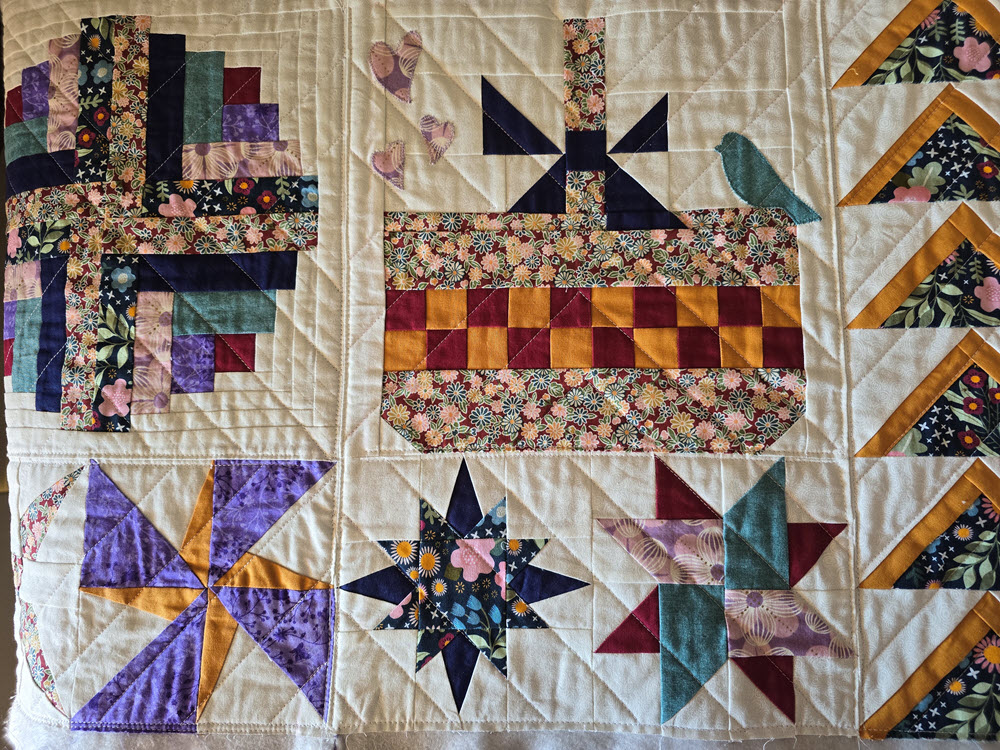
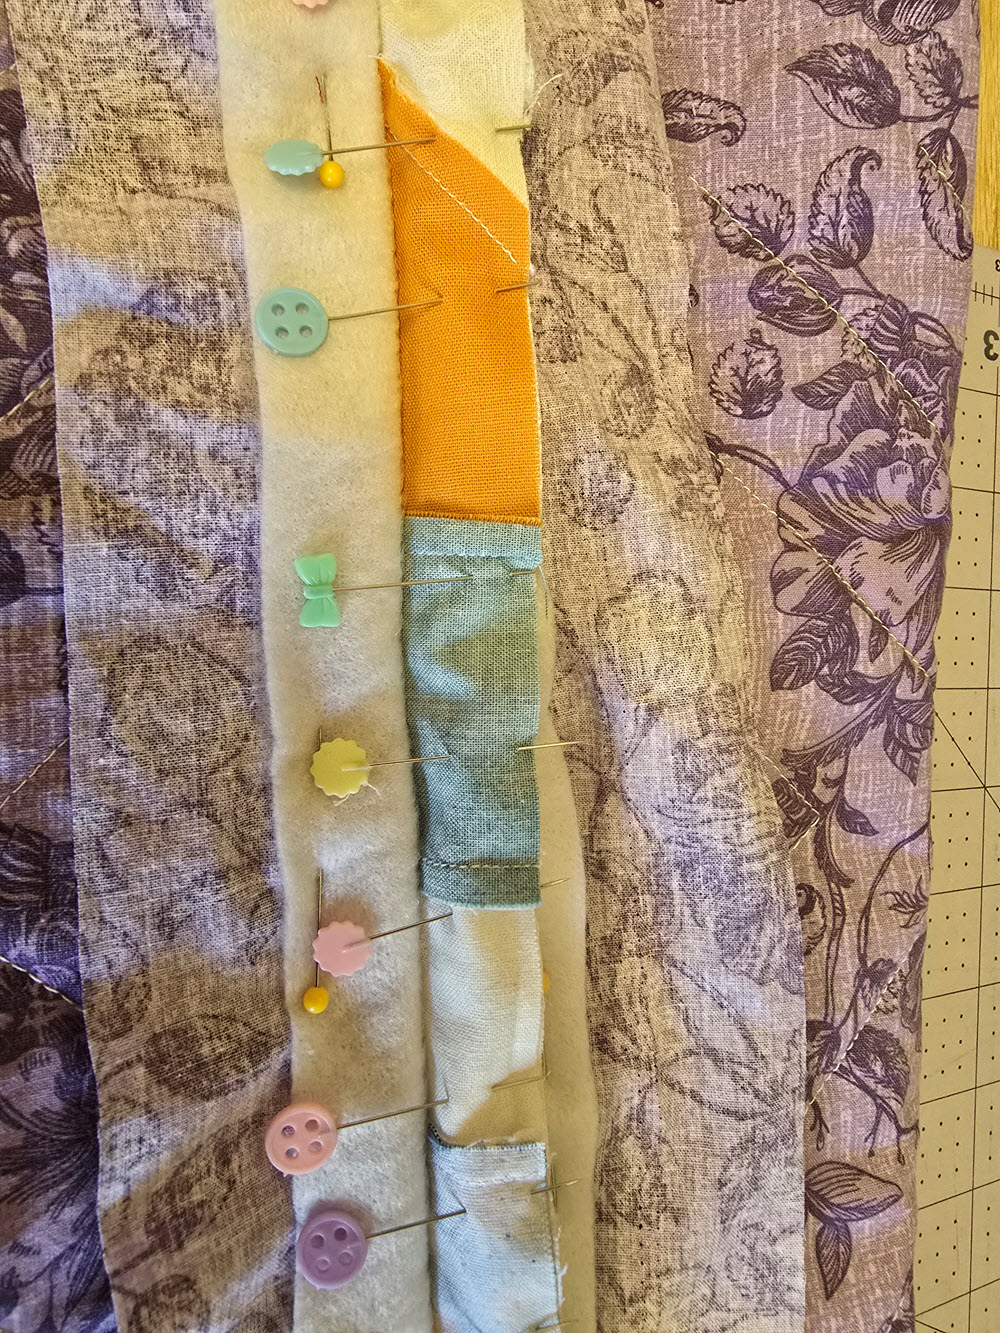
To make my 72 × 60 inch quilt manageable, I decided to use a quilt-as-you-go approach. Instead of quilting the entire quilt top at once, I sewed the blocks into nine panels. This allowed me to quilt each smaller panel separately before joining the panels together to create the finished quilt.

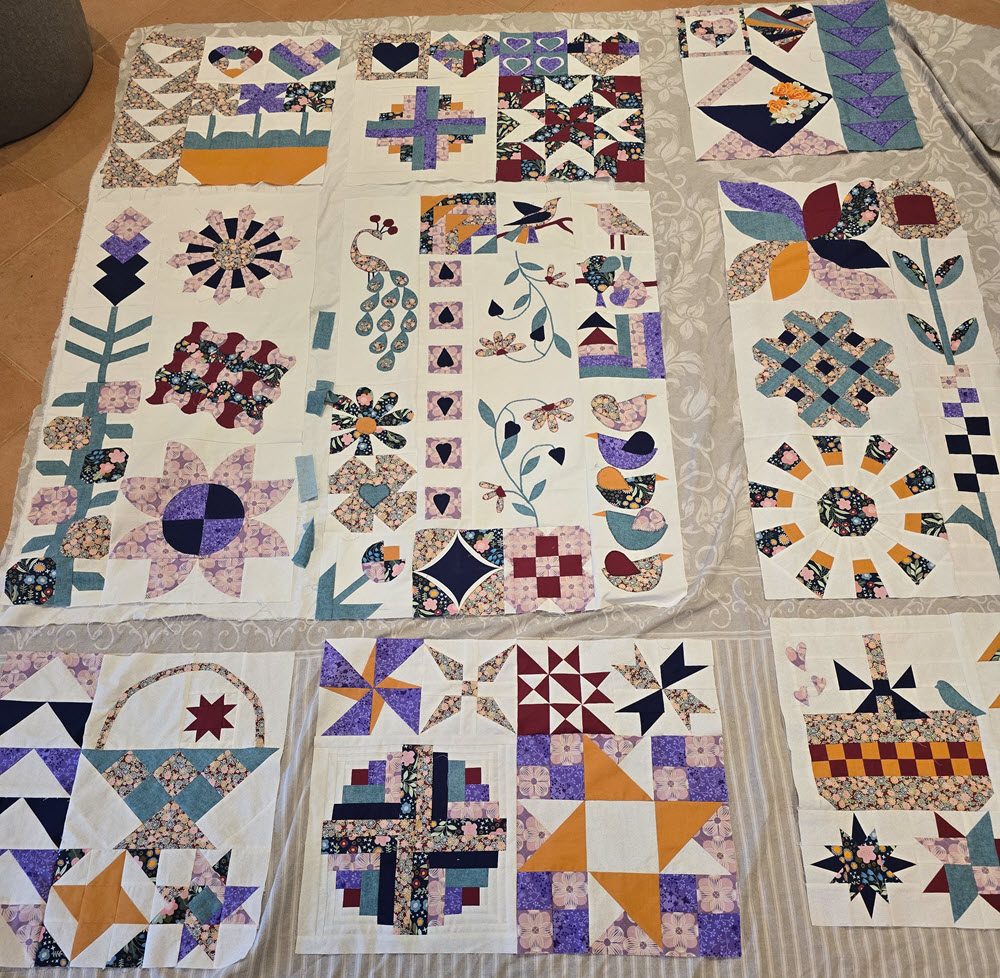
I originally intended to use the quilt-as-you-go method that incorporates sashing between the panels. This method is demonstrated in Pattern Poole’s video Quilt as you go with sashing. If you look closely at my quilt block panels photo above, you will see where I’ve added some cream and green fabric to see how sashing might look.
I quickly changed my mind to using a quilt-as-you-go approach without sashing so I could preserve the original quilt design.
Preparing the Quilt Sandwiches
Once I had sewn my blocks together to create the nine panels, I assembled the quilt sandwiches by following the spray-basting instructions in the Quilt Sandwich Tutorial – How to Make a Quilt Sandwich. I rely solely on spray basting and don’t pin baste afterwards, as I’ve found it holds the layers securely enough for quilting the panels on my domestic machine.
I had originally planned to use my leftover scraps to create an after-quilt for the backing, but I later changed my mind and chose to buy a patterned backing fabric instead. It was a simpler approach, and a heavily patterned backing works particularly well with a quilt-as-you-go method, as it helps disguise the joins and keeps the focus on the quilting rather than the construction. I used a medium-loft polyester cotton blend batting.
Choosing a Quilting Design and Getting Started
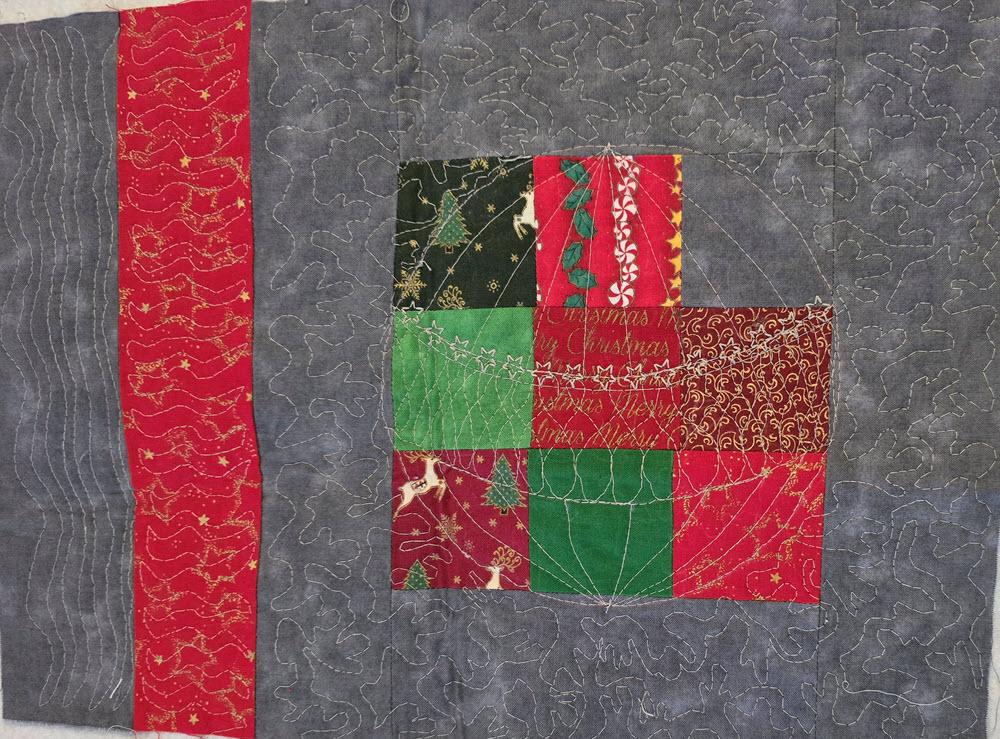
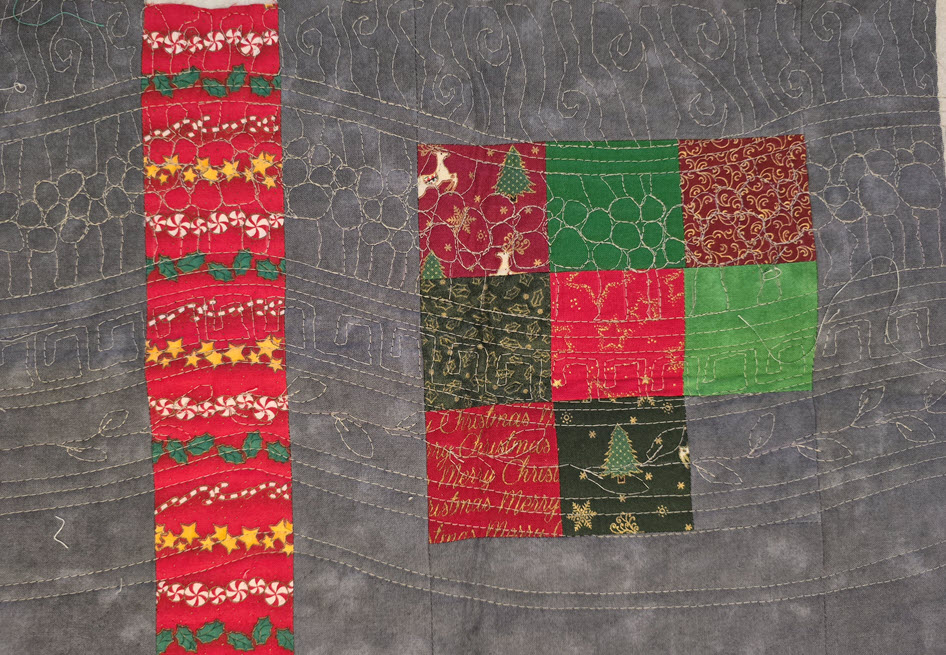
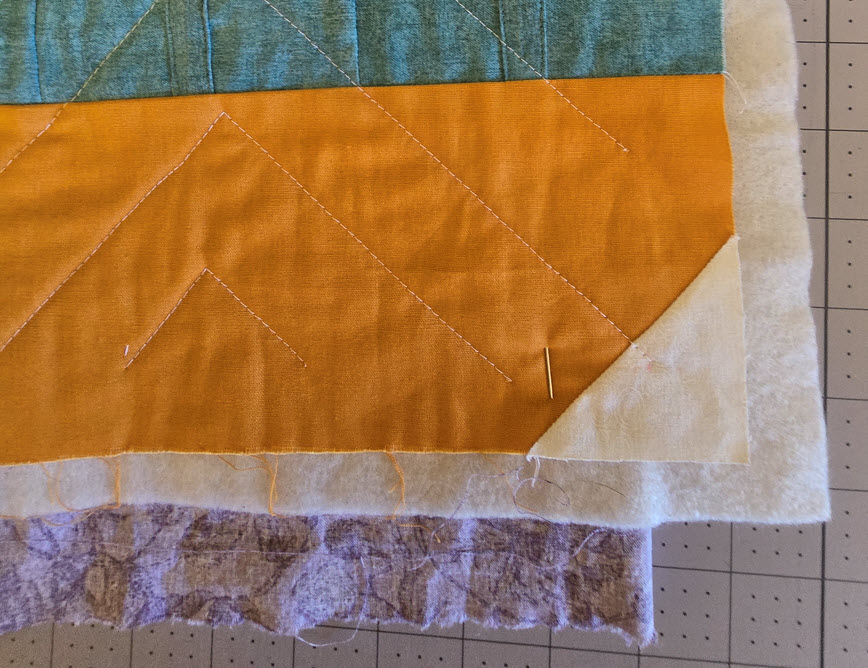
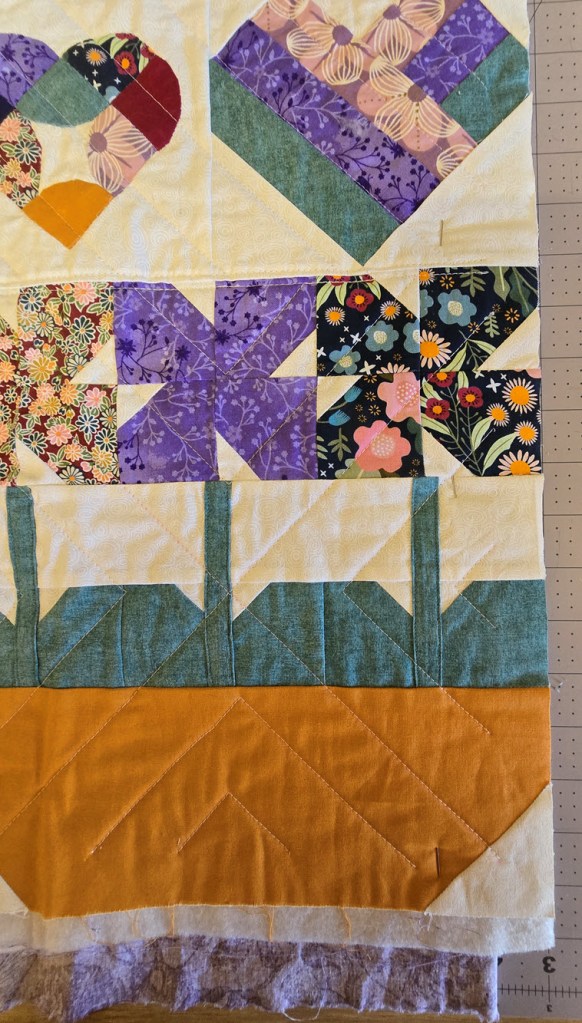
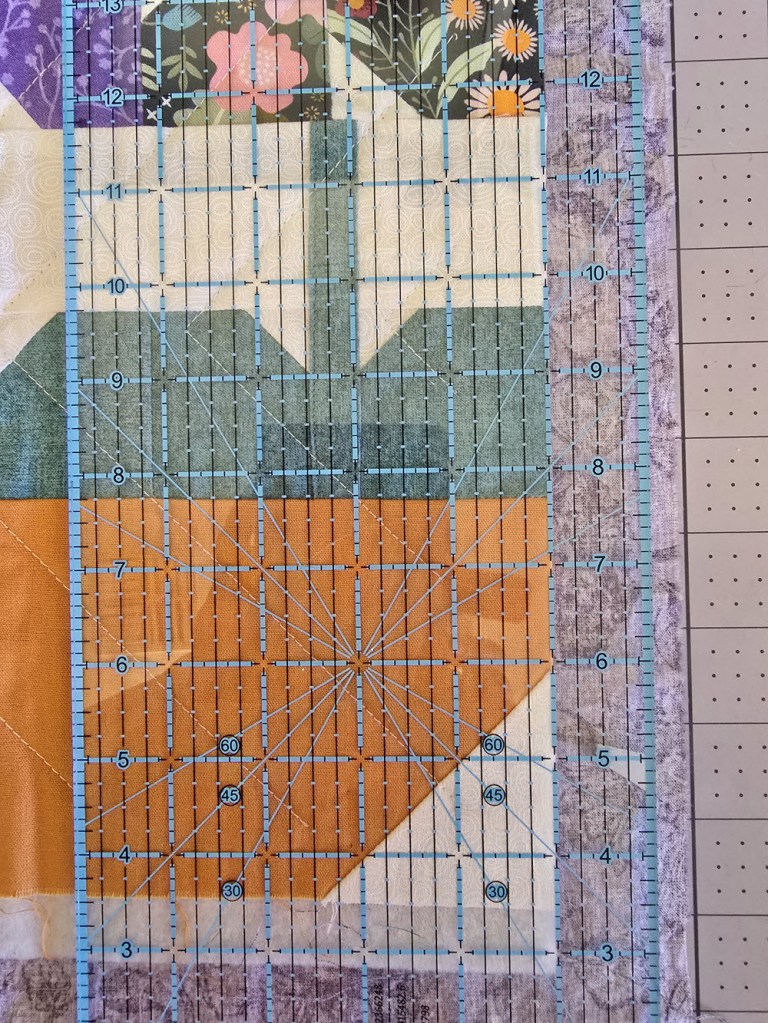
Choosing how to quilt the quilt was far more challenging than I expected. My first instinct was to quilt each block with its own design, so I began by quilting radiating straight lines in the log cabin blocks. While this worked well on a small sample quilt sandwich, it was far too dense and visually overpowering on the actual quilt. I had quilted it just as densely as my practice piece, without realising that the larger scale didn’t need that level of quilting. In the end, I had to unpick it.
For my second attempt, I reduced the quilting density and approached the quilting on a per-panel basis. While each panel looked fine on its own, once I laid the panels together, it became clear that the quilting competed with the overall quilt design, even at a lighter density (it isn’t as obvious in the photo as it was in person). The quilt felt busy rather than cohesive, and once again, I made the difficult decision to unpick the quilting.
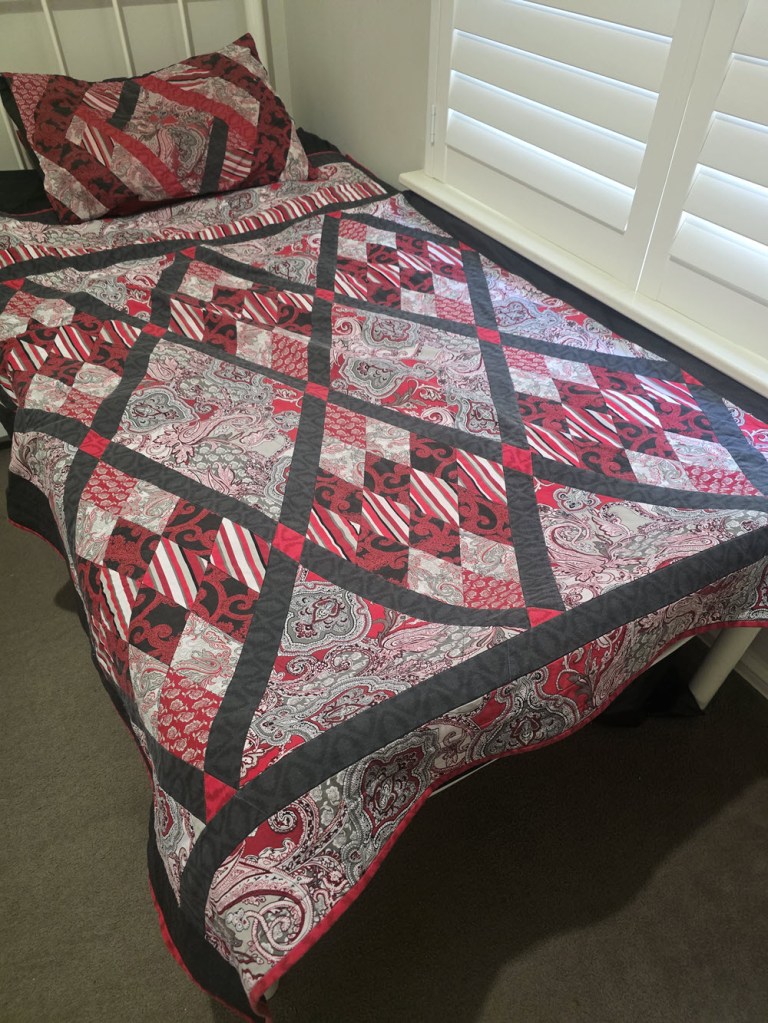
The centre panel was quilted with gentle waves, while the other panels were line-quilted.
It was at this point that I realised an all-over quilting design across the entire quilt would better support the pieced design. I eventually settled on gentle waves, which added texture without overpowering the blocks. By this stage, I had already joined the top and bottom panel blocks, which meant unpicking the quilting across seven panel sections before quilting them again with the new design.
In hindsight, if I had realised from the beginning that an all-over design of gentle waves was the best approach, I could have simplified the process by quilting the quilt in two or three larger panels instead of breaking it into nine. It was one of those lessons that only becomes obvious once you’ve worked through the problem the long way.
One of the most valuable lessons I learned from Jacquie Gering is that it’s perfectly okay to unpick your quilting and start again. She shared how she originally quilted her Running Man quilt with vertical matchstick quilting, but a third of the way through, realised it wasn’t working. She unpicked the quilting and switched to sectional curve quilting, using the piecing to guide the placement of the curves and create a sense of movement in the runner. Seeing a professional quilter go through the same process reassured me that redoing quilting isn’t a failure — it’s part of the learning process and sometimes necessary to get the best result.
While it was time-consuming and occasionally frustrating, this process taught me a valuable lesson: quilting choices can only really be evaluated at full scale, and sometimes the best decision is to stop, unpick, and try again.
Using Quilt-As-You-Go To Join The Quilt Sections
Once I had finished quilting the panels, it was time to join them together using a quilt-as-you-go method without sashing. There are variations of this technique, and I found Sugaridoo’s Quilt as You Go – How to Join Quilt Sections Without Bulky Seams helpful.
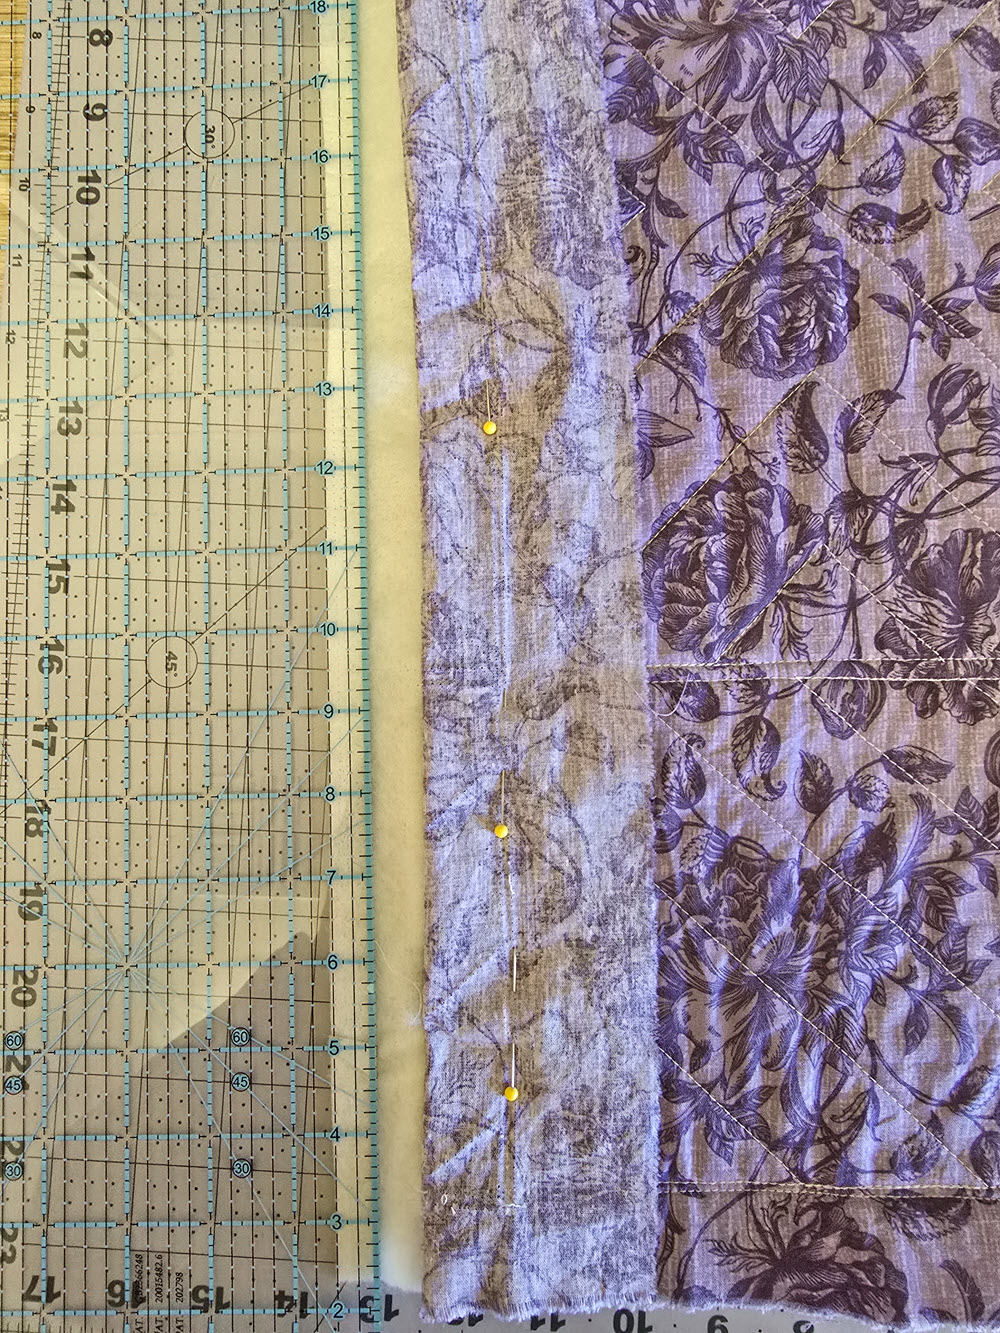
My approach is an adaptation of Sugaridoo’s quilt-as-you-go method and other QAYG techniques without sashing. I found that trimming the backing fabric 1 inch from the quilt top edge, rather than the ½ inch used in Sugaridoo’s video, made the panels easier to join neatly on my domestic machine.
Step 1: Leave a Quilting Margin
Before quilting, I made sure I didn’t quilt closer than 1 inch from the edges of the panels that needed to be joined. I marked this boundary using an erasable fabric marker as a visual guide.
Step 2: Prepare the Left Panel
Take the left panel to be joined.
Pin the backing fabric away from the right-hand edge, keeping it clear of the quilt top and batting.
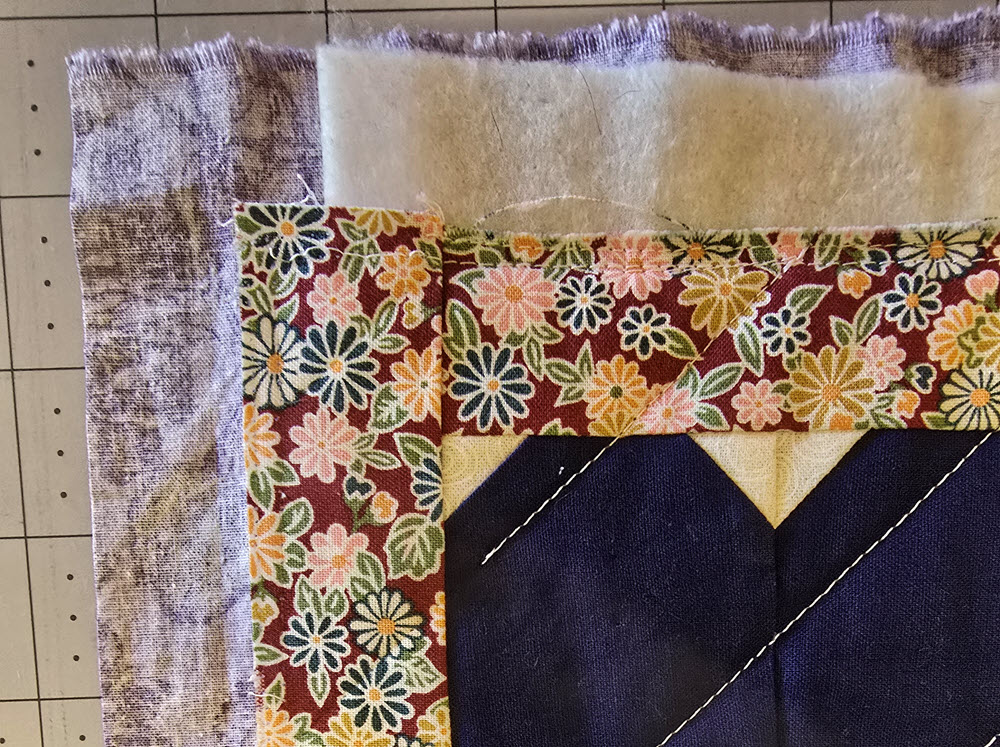
Step 3: Trim the Batting (Left Panel)
Trim the batting on the right-hand side so it is flush with the edge of the quilt top.
Step 4: Trim the Backing (Left Panel)
Unpin and fold the backing fabric back out.
Trim the backing so it extends 1 inch beyond the edge of the quilt top and batting.
Step 5: Prepare the Right Panel
Take the right panel and pin the backing fabric away from the left-hand edge, keeping it clear of the quilt top and batting.
Step 6: Trim the Batting (Right Panel)
Trim the batting on the left-hand side so it is flush with the quilt top edge.
Step 7: Create a Batting Recess (Right Panel)
Pin the quilt top away from the batting, then trim the batting so it sits ½ inch inside the edge of the quilt top.
Step 8: Trim the Backing (Right Panel)
Unpin the backing and trim it so it extends 1 inch beyond the quilt top edge.
At this point:
- The batting sits ½ inch inside the quilt top edge
- The backing extends 1 inch past the quilt top
Step 9: Join the Quilt Tops
Place the right sides of the quilt tops together, pinning only the quilt tops.
Ensure the batting and backing are pinned well out of the way.
Sew using a ¼ inch seam allowance.
Step 10: Close the Batting
Press the seam gently.
Fold the batting edges together and hand stitch the batting closed.

Step 11: Close the Backing
Turn the backing edges under neatly:
- Press one backing edge under by about ¼ inch
- Lay the second backing edge over it
- Hand-sew the backing closed over the seam.
Step 12: Secure the Join
Quilt a gentle wave along the joined seam to secure the panels and visually blend the join into the rest of the quilting.
Finishing the Quilt: Binding and Quilt Label
Once all the quilted panels were joined together, the quilt finally felt whole. I trimmed it to size, squared it up, and reached the final stage: binding.
By this point, I wanted a finish that felt relaxed and forgiving rather than another opportunity to overthink decisions. I decided to use a scrappy binding, made from the leftover fabrics from the quilt itself. It felt like a fitting way to bring everything together and use what I already had.
I followed Turn your scraps into binding – How to bind your quilt part 4 by Karen Brown to learn how to make scrappy binding, which helped demystify the process and showed how piecing binding strips can be both practical and visually interesting.
I followed How to bind a quilt – binding hack you need to have by Karen Brown to machine bind the quilt.
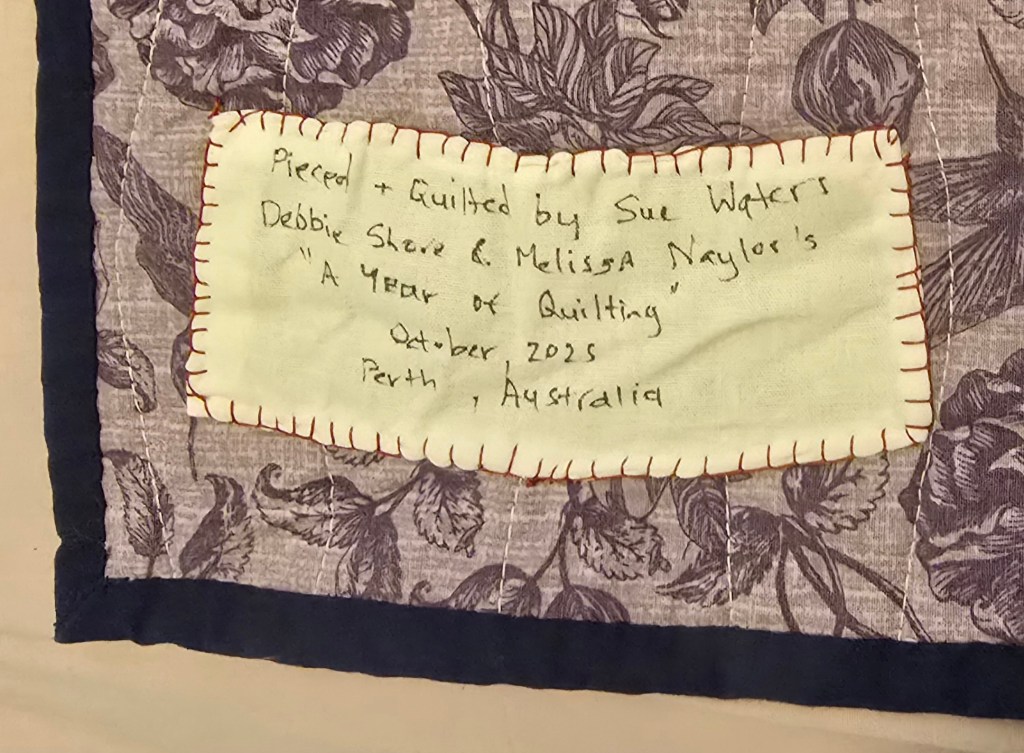
After binding my quilt was almost finished – I just needed to add a quilt label.
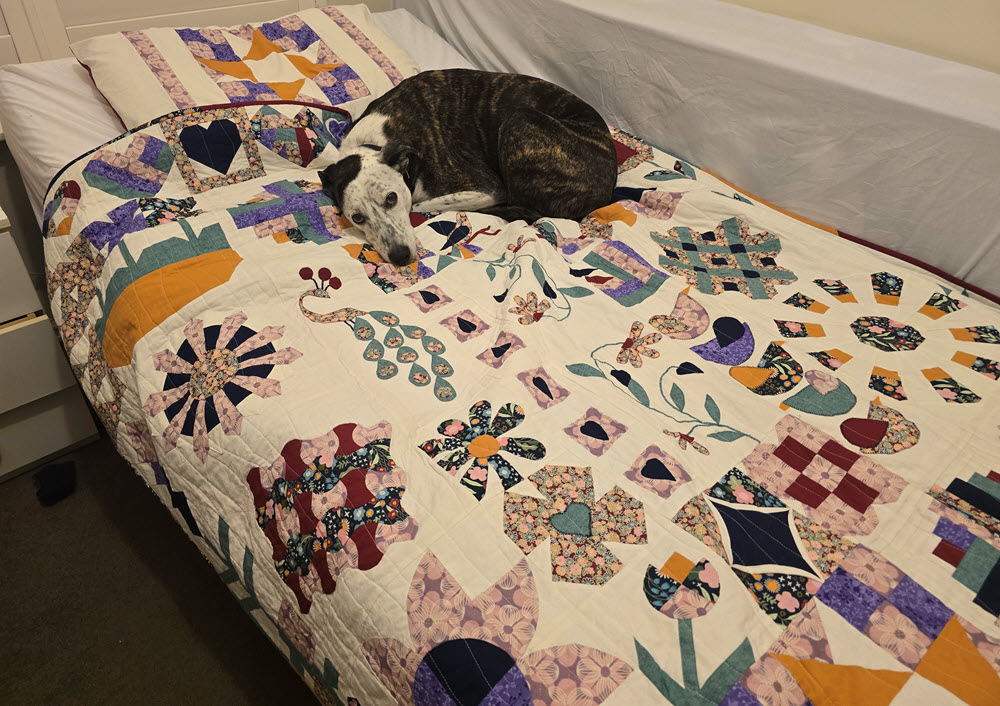
Ta Da! My completed quilt and the final inspection are complete. Quilt approved by Nova.

Applying the Lessons: Quilting the Next Bed Quilt
After completing this quilt, I moved straight on to another bed quilt of the same size (72 × 60 inches), this time using a quilt kit I had been gifted. The fabric colours and patterns weren’t ones I would normally choose, but I decided that working with a different aesthetic was part of the learning process. Being challenged by fabrics outside my comfort zone turned out to be a useful experience in itself, and my husband loves the colours of this one.
This quilt felt noticeably easier to quilt because the instructions clearly specified the quilting design. The diagonal piecing was quilted using stitch-in-the-ditch, and the larger diagonal fabric sections were quilted with cross-hatching. To increase the quilt to bed size, I added extra fabric to the sides and ends, and those sections were quilted with simple straight lines.
Because the overall design was simpler and the quilting plan had already been decided, I chose to quilt this quilt in one piece rather than using a quilt-as-you-go approach. I wanted to understand what it felt like to manage a full-size quilt on my domestic machine, and I was surprised by how manageable it was.
I spray-basted the quilt sandwich by placing my dining table outside against my outdoor table, which allowed me to lay the entire quilt across both tables easily. I ironed between each spray-basting step, using my iron directly on the table to keep the layers smooth and aligned.
This project also gave me a new appreciation for why many experienced quilters dislike stitch-in-the-ditch. I found it far more challenging than expected, requiring constant concentration to stay accurately in the seams. However, having the quilting design chosen in advance made the process far less mentally tiring. Instead of second-guessing every decision, I could focus on execution and flow — a valuable contrast to my first experience of “quilt as desired.”
Final Thoughts
Looking back over this past year of quilting, the biggest thing I’ve gained isn’t the finished quilts — it’s experience. I’ve now worked through every stage of the quilting process: piecing blocks, planning layouts, choosing fabrics, quilting on a domestic machine, using quilt-as-you-go methods, unpicking and starting again when needed, and finishing a quilt with binding. Each step has added to my understanding in ways that books and tutorials alone never could.
More importantly, as a beginner learning new skills, I have a constant internal battle with perfectionism. Learning to quilt has repeatedly forced me to shift my focus — away from the desire for perfect decisions and perfect outcomes, and towards progress, growing confidence, and learning one step at a time. Wanting every choice to be “right” can stall progress, whereas in reality, skills are built through trial, mistakes, and doing the work imperfectly.
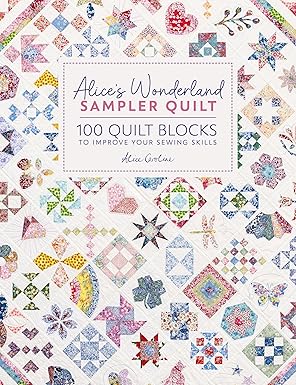
As for what’s next, I’ve started working on Alice’s Wonderland Sampler Quilt: 100 Quilt Blocks to Improve Your Sewing Skills, as I’ve discovered that I enjoy the challenge of learning new quilt blocks and following a structured, guided journey that builds skills through piecing far more than the quilting stage itself.


Leave a comment