Due to changes to Flickr, any free Flickr user with more than 1,000 photos or videos has until January 8, 2018 to upgrade to Pro or download their surplus photos. After January 7, free users over the 1,000 limit won’t be able to upload any more photos and Flickr will start deleting free user content from February 5, 2019, starting with the older content first, until their account is below the 1,000 limit.
While I stopped uploading photos to Flickr years ago I am one of the only 3% of free users that had more than 1,000 photos uploaded and had to make a decision on what to do about my Flickr photos.
My choice has been to clean up my account to reduce my Flickr photos and videos below the 1,000 limit. I used Flickr for photo storage, sharing Creative Commons images and was never interested in the community interaction of Flickr. I changed to Google photos because it made storing and managing my photos online easier than Flickr.
NOTE: It’s possible that Flickr wouldn’t delete my photos since they stated that photos licensed through Creative Commons before November 1, 2018 will not be deleted, even for accounts over the 1,000 limit.
For those like me that want to clean up their Flickr account here are the steps:
Step 1: Download Flickr Albums
1. Log into Flickr.
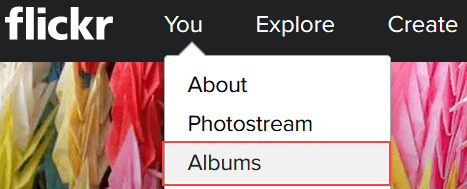
2. Go to Flickr Albums
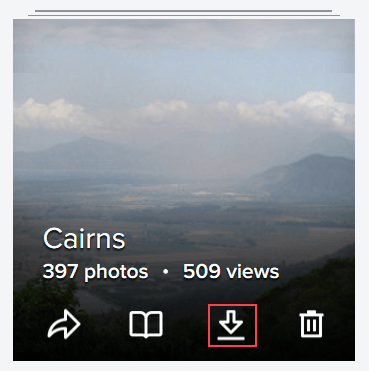
3. Click on the Download icon on an Album to download it onto your computer.
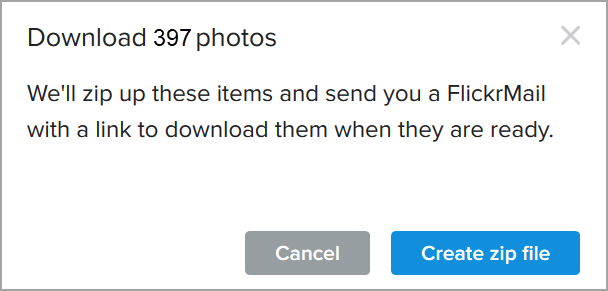
4. Click on Create Zip File.
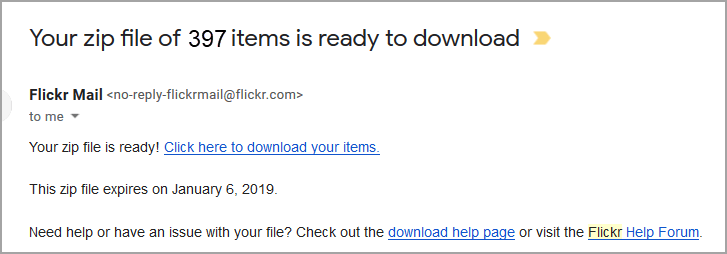
5. Click link to download your items in the email you received.
7. Repeat until all albums have been downloaded.
The following video shows how to add photos to albums if you haven’t been using albums.
The alternative option is you can download all photos together as follows (tip provided by Mike in comments):
1. Log into Flickr.
2. Go to Settings > Personal Information.
3. Scroll down to Flickr Data.
4. Click on request data including photos.
5. Flickr sends an email when the photos are ready to download (can take several hours depending on the number of photos).
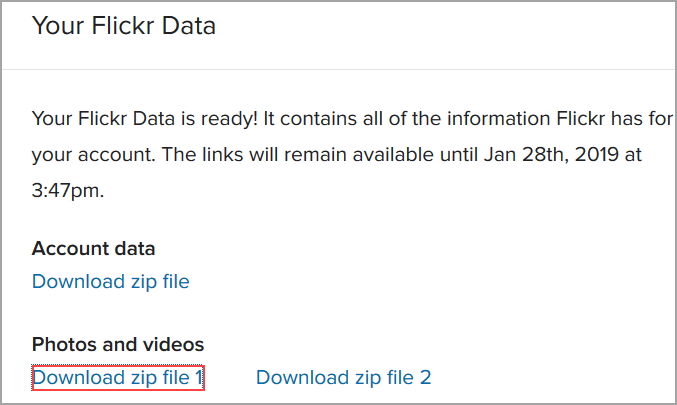
6. Click on Download your data in the email you receive.
7. Click on Download zip file.
Step 2: Upload the photos to Google Photos
1. Log into Google Photos on your computer.
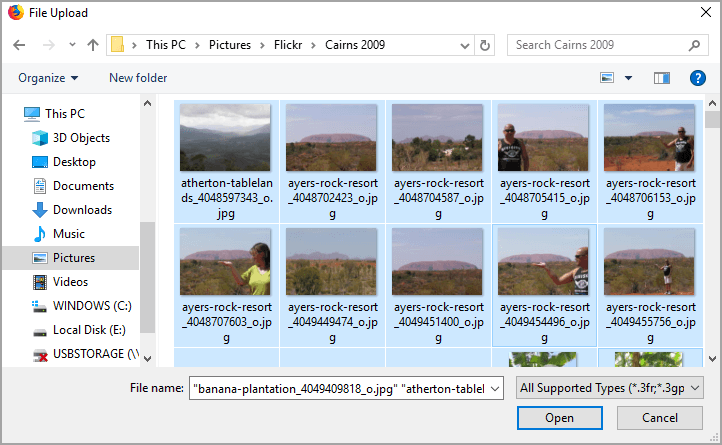
2. Click on Upload.

3. Select the photos to upload and then click Open.
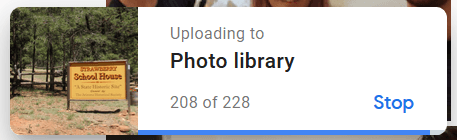
4. Progress status is displayed as the photos upload.
5. Once the photos are uploaded you’ll see an option to add the photos to an album or shared album.
6. Repeat until photos from all albums have been uploaded.
Step 3: Delete photos from Flickr
1. Log into Flickr.
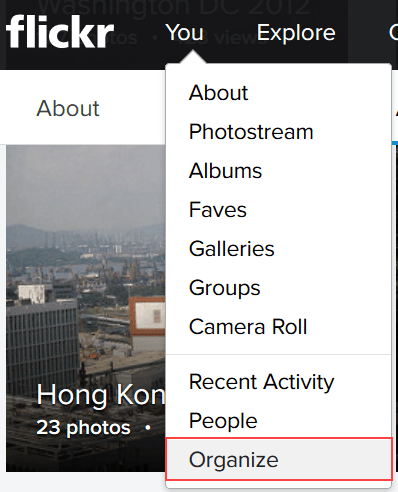
2. Go to Organize.
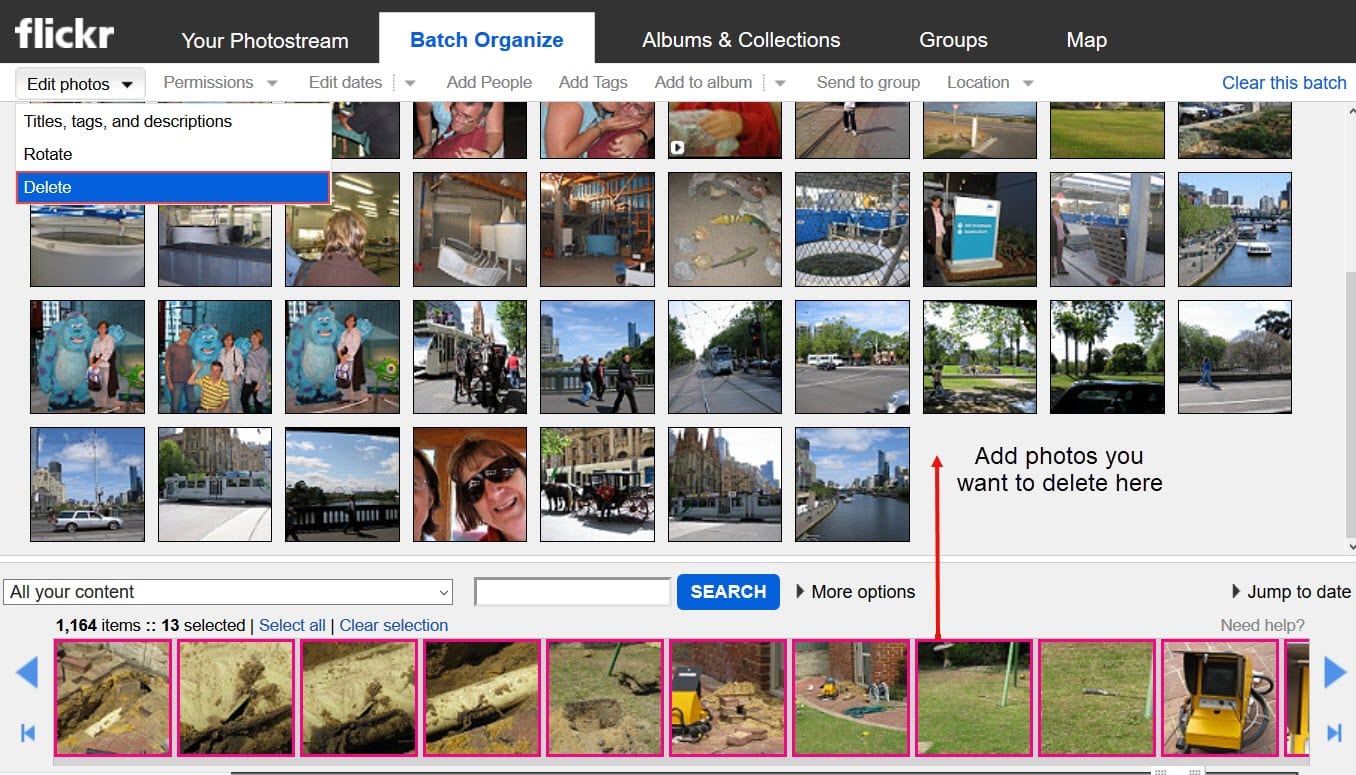
3. Drag the photos you want to delete into the batch organize area.
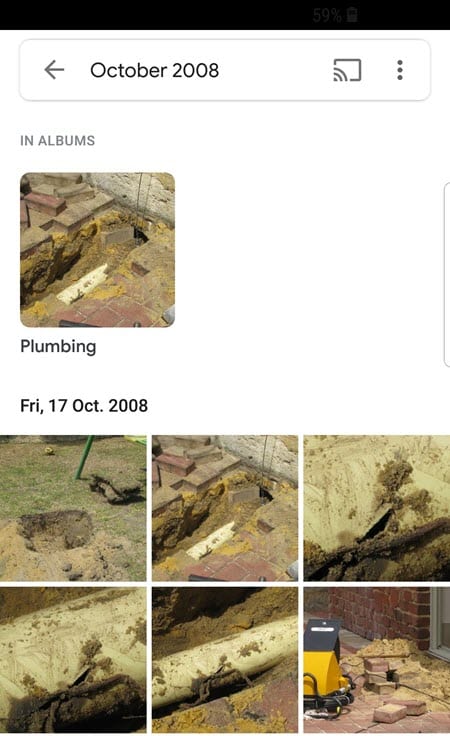
4. Search Google photos to confirm you’ve uploaded the photos – easily checked by searching month photo taken or location photo taken.
5. Once confirmed that all the photos selected have been uploaded to Google photos you can delete from Flickr using Edit Photos > Delete.
You can quickly add any photos that haven’t been added to an album to a new album so you can download the photos before deleting by clicking on Add to Album.

Next Task
Now I’ve finally started to get my photos more organized it is time to think about how to share my photos with future generations?
I have 100’s of old family photos from the late 1800’s and early 1900’s that I found while cleaning my mother’s house. These photos provide an amazing insight of my family and life during their time.
We’re the most photographed generation who don’t have photograph albums. In the digital era we’re at risk of becoming the forgotten generation.


Leave a comment